Sprouts are super nutritious and it's great for birds that refuse to eat anything but seed since it looks like seed to them. It sounds complicated, but it's really not once you have it down.
I sprout with no special equipment. I use ordinary household sieves and plastic storage containers.
For my larger birds-conures, african greys, eclectus, ringnecks:
Sunflower seeds, safflower seeds, green peas, barley.
Use any plastic food storage container.
Pick out all the broken pieces and "junk"
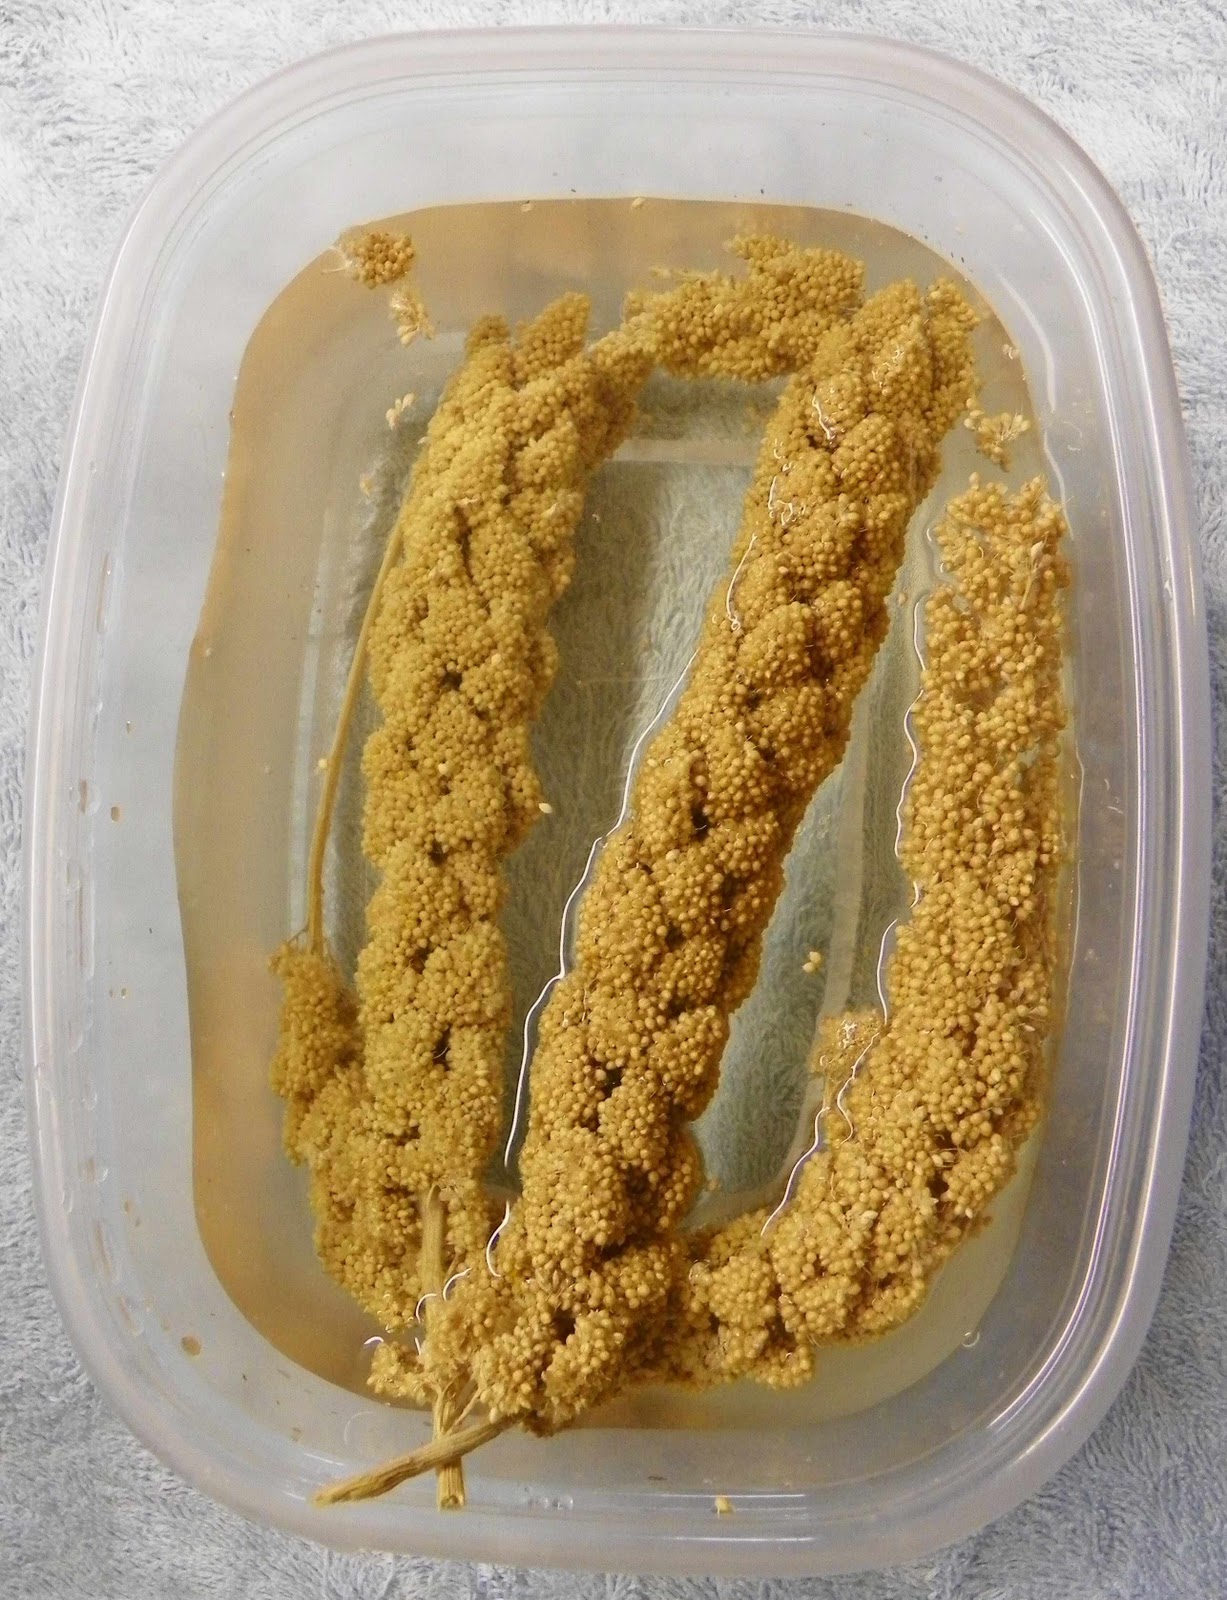
Cover with water. Soak about 8 hours or overnight.
After soaking, pour through sieve and rinse thoroughly.
Set sieve on top of sprouting container to drain.
Make sure the sieve holes are small enough so what you're sprouting doesn't fall through.
Rinse at least twice a day.
I leave this next to the kitchen sink so when I pass by I give it a rinse. Smell it after each rinse.
It should smell fresh and "earthy", never moldy. Discard if moldy or smells yucky.
Sprouts are ready to serve when there are small tails.
Depending on the temperature and what you're sprouting, the sprouts will be ready
in 24 - 36 hours. Refrigerate unused portion in refrigerator.
I don't know how long the sprouts will keep. I feed out within three days. Experiment with the amounts and make what you can feed out within three days.
For my small birds-finches, parakeets, cockatiels:
I use a parakeet/finch mix. Small yellow millet, white millet, red millet,
canary grass seed, oats, flax, rape, niger, chinese millet. This generally is
too small to pick out any broken pieces, but remove any obvious pieces of "junk".
Cover with water. Soak about 8 hours or overnight.

After soaking, pour through sieve and rinse thoroughly.
Set sieve on top of sprouting container to drain.
Make sure the sieve holes are small enough so what you're sprouting doesn't fall through.
Rinse at least twice a day.
I leave this next to the kitchen sink so when I pass by I give it a rinse. Smell it after each rinse.
It should smell fresh and "earthy", never moldy. Discard if moldy or smells yucky.
Sprouts are ready to serve when there are small tails.
Depending on the temperature and what you're sprouting, the sprouts will be ready
in 24 - 36 hours. Refrigerate unused portion in refrigerator.
I don't know how long the sprouts will keep. I feed out within three days. Experiment with the
amounts and make what you can feed out within three days.